We met my parents at Avebury and spent the day exploring the ancient landscape around the area.
Avebury is one of the best preserved Neolithic monuments in Europe and is believed to have been constructed between 3100 BC - 2000 BC. The site consists of a large henge, or circular ditch, surrounded by a stone circle, two inner circles and two additional semi-circles outside the main ring.
From there we walked along the West Kennet Avenue and up over the fields. As we reached the top, we started to see a glimpse of Silbury Hill - the largest artificial mound in Europe. We then headed down towards Silbury Hill and across to the West Kennet Long Barrow which is a really impressive structure. As we took in the sights of the long barrow and the views all around the landscape we watched the swallows flying into the barrow to catch flies.
This blog post will provide you an overview of our Lambda integration in API Connect on AWS, what you could use it for and a simple worked example of setting this up. If you’d prefer you can watch me demonstrate this in our video on YouTube.
Lambda is serverless computing platform provided by Amazon Web Services (AWS) which lets you build and deploy your code in a number of different programming languages with easy integrations to AWS services without having to manage infrastructure or servers. This makes it an ideal place to build out your API implementation and when you combine this with our API Connect on AWS SaaS offering you can quickly build, manage and socialise your APIs without worrying about the infrastructure behind them.
Using our Lambda policy in the SaaS service makes this simple and straight forward to integrate these so you can build out your apis around numerous different AWS services then manage them centrally through API Connect, sharing them with consumers through our customisable developer portal.
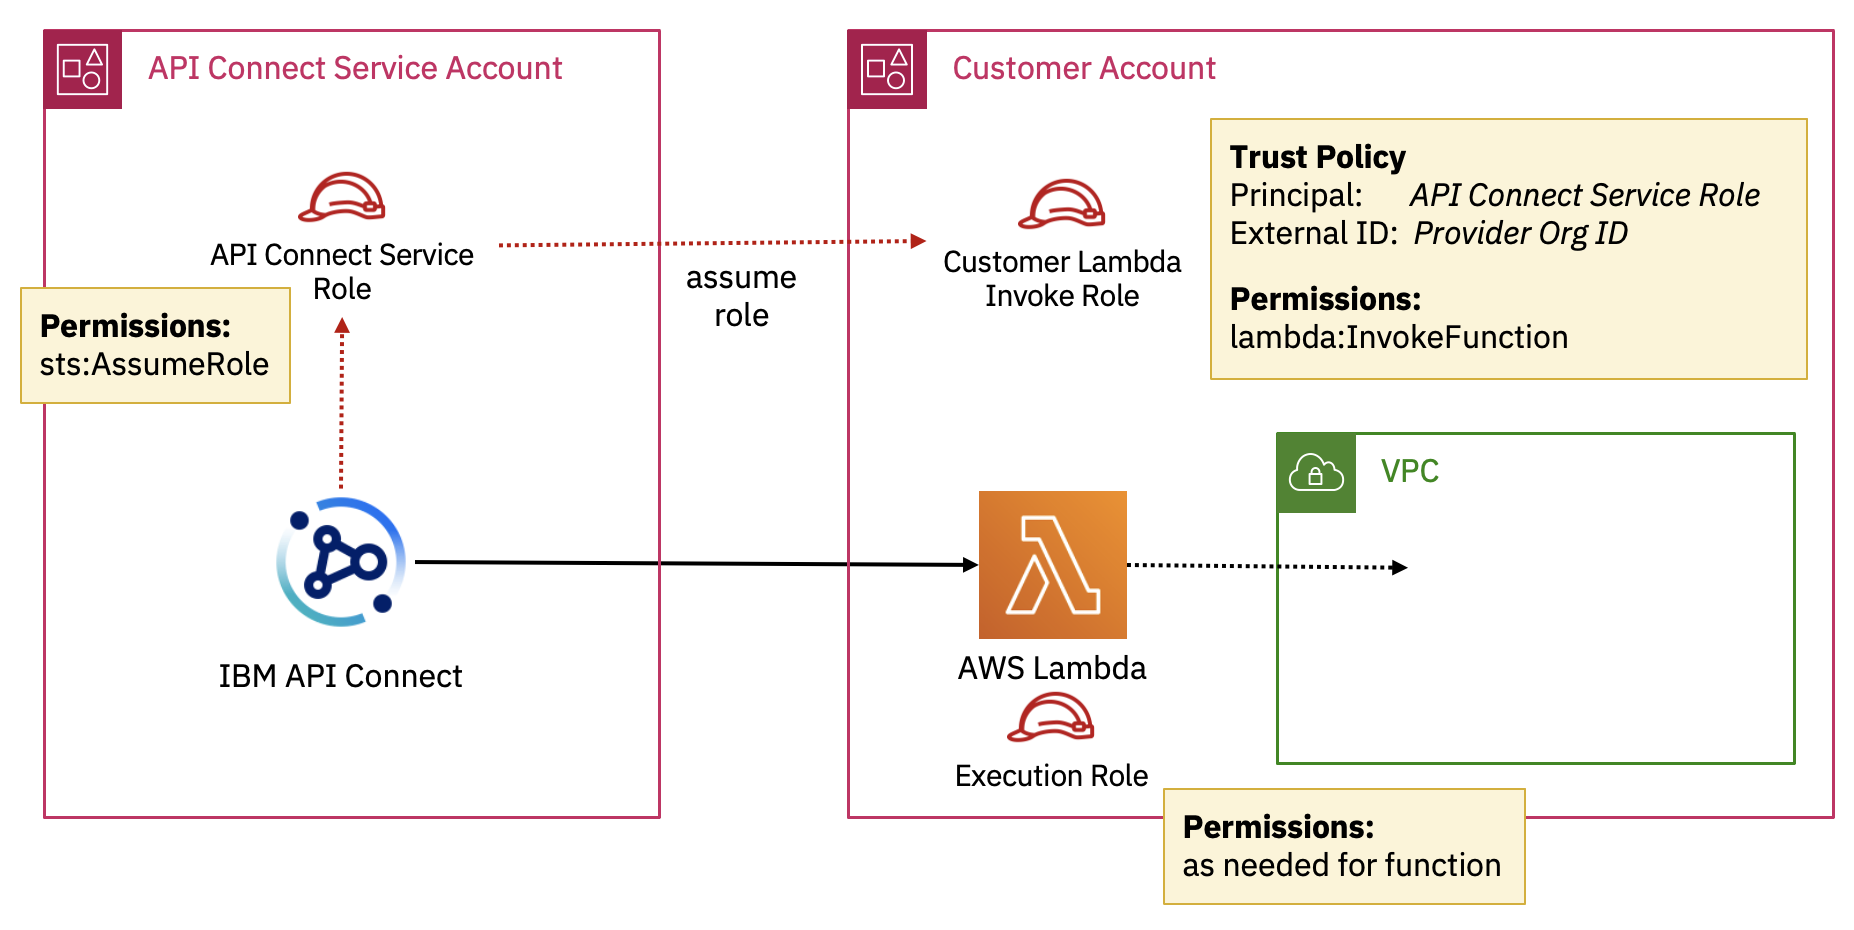
In order to manage the integration securely we use AWS Security Token Service (STS) so there is no need for you to give API Connect the credentials for your AWS account, you can just create an IAM role and grant permission for API Connect to assume that role.
The API Connect service is running in our AWS account and we have a fixed STS role that the service uses for each region:
In your AWS account you would set up a role that has permission to invoke your Lambda function(s) and set up the principal for the trust policy to be our service role and the external ID to be your provider org ID of your API Connect service instance. You can set this role to grant permission for just a single lambda function or multiple depending on what you need.
Within API Connect you will find the Lambda policy in the API Assembly editor on the Gateway tab along with all the other policies you can use to build out your API. The preferred model is to configure the lambda policy using the STS Assume Role option, however we do also support providing an Access Key ID and Secret Access Key. Then along with the credentials you just need to specify the name of the function and the region you have the lambda function deployed in.
To do this for yourself you can follow along with my simple worked example:
1. Create Lambda function
From the AWS Console, select Lambda then Create function - either start from scratch or make use of the ‘Hello World’ blueprint example. If you start from scratch and want to use the simple echo function I demonstrate in the video, give your function a name and select NodeJS as the Runtime - you can leave all the other settings the same unless your organisation has specific requirements around roles and permissions. Then click Create function.
Here is the code for the simple example from the video, which you can copy and paste into your function - alternatively you can use an existing function or write something more useful yourself:
exportconsthandler=async(event) => {
// TODO implement something more interesting here!
constresponse=event;
returnresponse;
};
After the code is updated in the function, click Deploy.
Take a note of the function name and region your function is deployed in - both are part of the displayed function ARN - arn:aws:lambda:{{region}}:{{account}}:function:{{functionName}}
2. Create a role
Now you have the function created you will need to create a role to grant API Connect permission to assume which can invoke the function - for this, go to IAM and select Roles within the AWS Console.
Select Create role
Select Custom trust policy
Update the trust policy to have set the Principal to the API Connect role for the region you are using (see the table above) and set the “Condition” to require an external ID of the provider org you are using in the API Connect service- you should have something like the following:
Next, create a permission policy for the role to allow it to invoke lambda functions - something like this (you can also specify the function within the Resource field to limit which lambda functions API Connect can invoke):
Now you have the Lambda function and Role configured we’re ready to start making use of this function within API Connect
3. Create your API in API Connect
To do this, open API Manager - if you don't already have a trial instance to use, you can create a free trial now.
Select Develop APIs and Products.
Create a new API using the Add button and selecting API (from REST, GraphQL or SOAP).
Select New OpenAPI.
Complete the details for the name and path and click Next.
Confirm the security options and click Next.
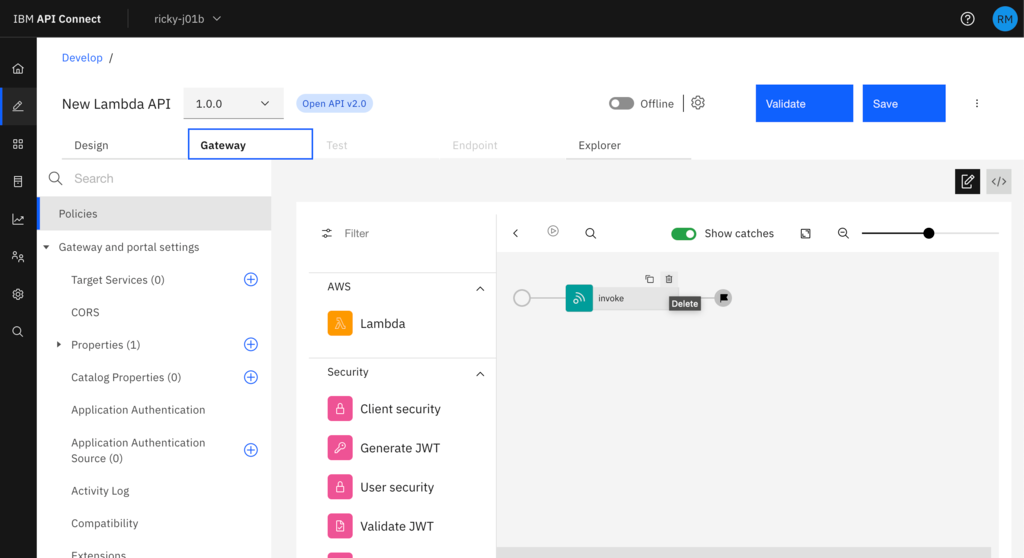
Now you have completed the guide to create the basic API you can set up the OpenAPI specification for it as you would like before moving on to configure the implementation. To configure the implementation, select the Gateway tab, remove the default Invoke policy by hovering over it until you see the bin icon - and then click it.
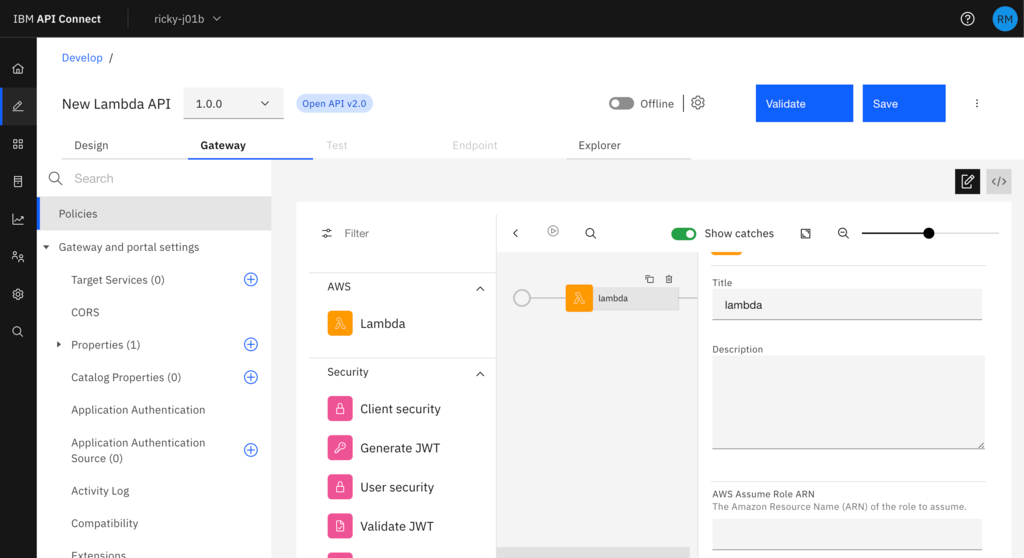
You can now drag the Lambda policy across in its place and fill in the details from your Lambda policy as the parameters (role, function name and region).
Now you have the Lambda policy in place you can Save the API, and toggle the Online indicator to make the API available to test and then try it out under the Test tab.
There we have an API implemented end to end from a serverless function in AWS Lambda through to defining the OpenAPI spec for it and managing it in API Connect. You could now go on to share this API with Consumers through the Developer Portal, or continue to build out the functionality with additional policies first.
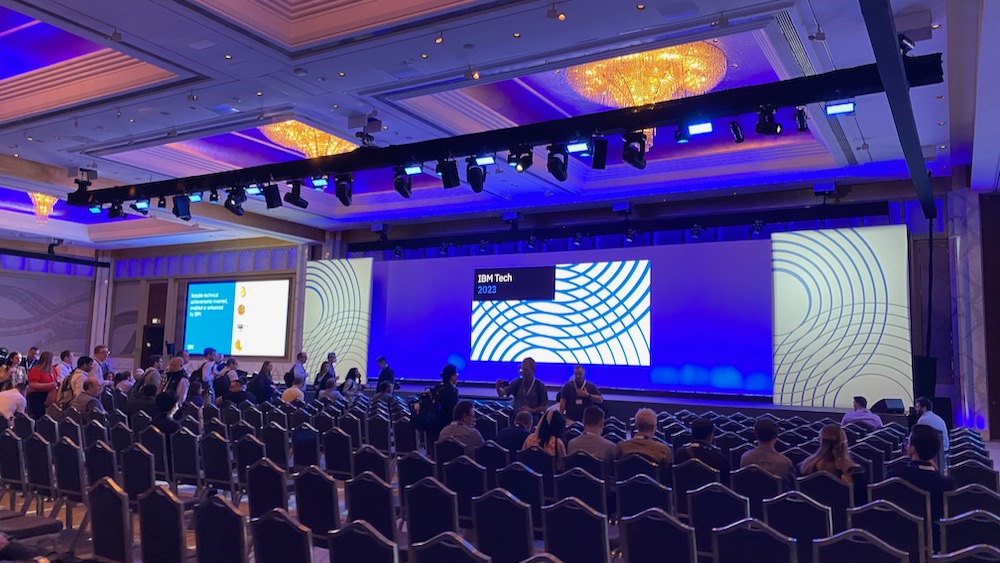
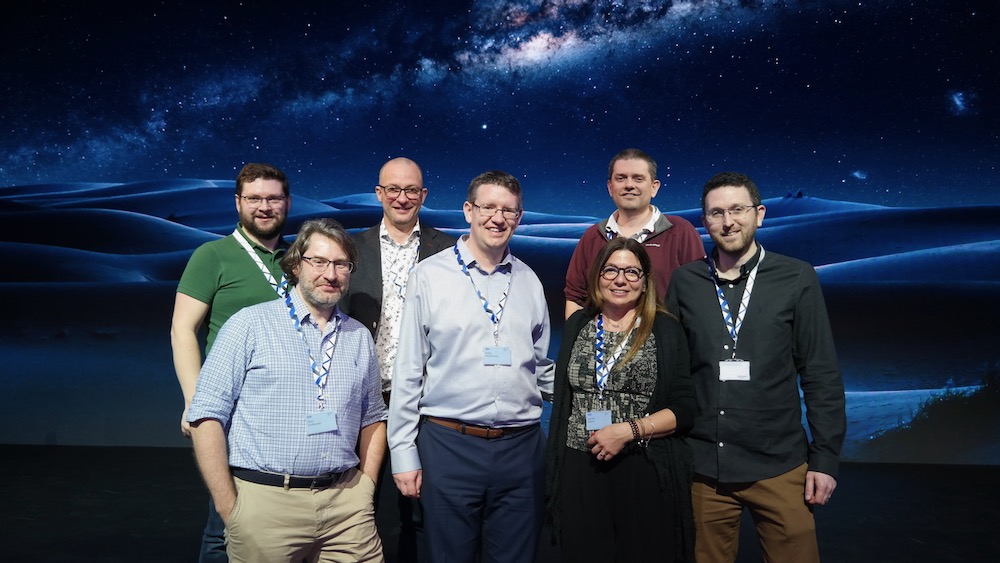
Just back from a fantastic time at #ibmtech2023 in Dubai, where it was great to meet with so many colleagues from across IBM, celebrate our achievements and learn together.
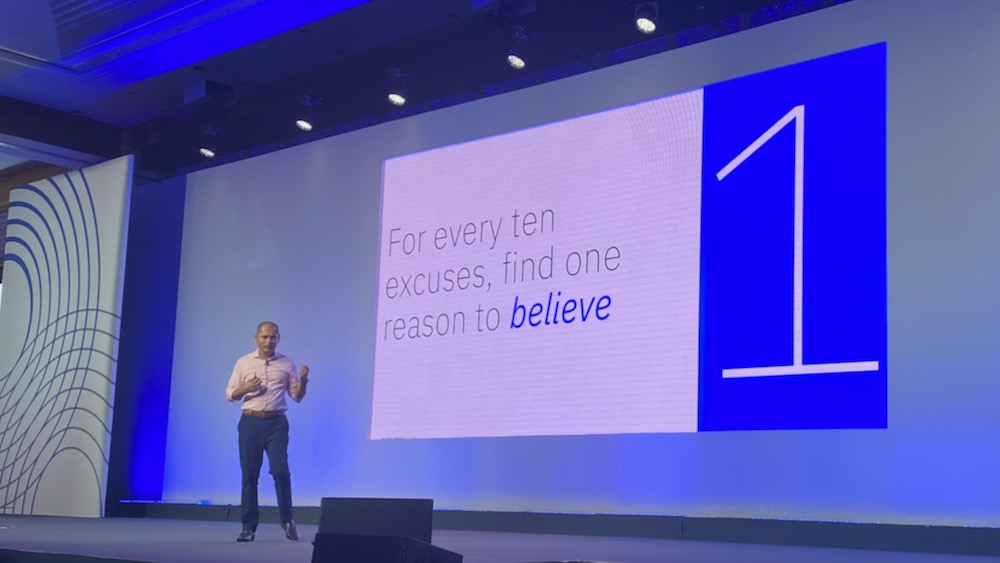
I was really struck by this in the welcome kickoff from Dinesh Nirmal - "For every ten excuses, find one reason to believe" - that technological advances come through out of belief in the possible even through surrounding skepticism. Meeting and chatting to so many fantastic IBMers shows how that belief can be reinforced through the many accomplishments being celebrated.
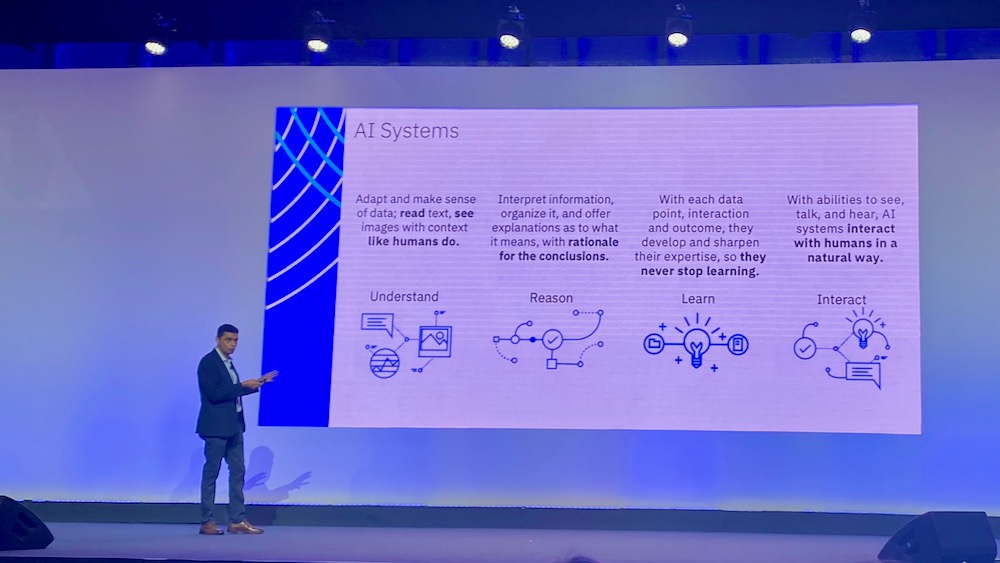
Then after a coffee break we had our first session - for me this was "AI Overview and IBM AI Technology Roadmap" which was a really well presented session with lots of useful information but I was starting to flag a bit after the late night arrival.
Welcome Kickoff
Dinesh's kickoff
AI Session
After the morning sessions we headed off to our recreation activity - mine was the 4x4 Desert Safari where we went off exploring the desert dunes in a 4x4, up the slopes and then along the edge of the peak before turning back round and down. This was followed by riding camels - it was really strange when they go up and kneel down and felt very high up on them! After this we had the chance to try sand-boarding, which I didn't do very well at at all and the board kept burying itself in the sand and getting stuck rather than elegantly gliding down the slope as I was hoping for!
4x4 Desert Safari
Camel Rock
Camel Ride
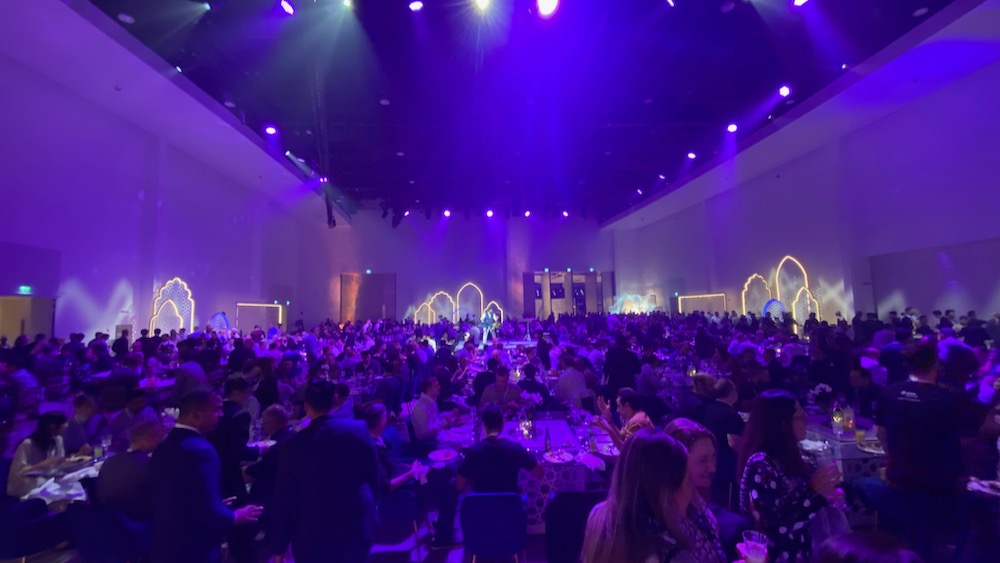
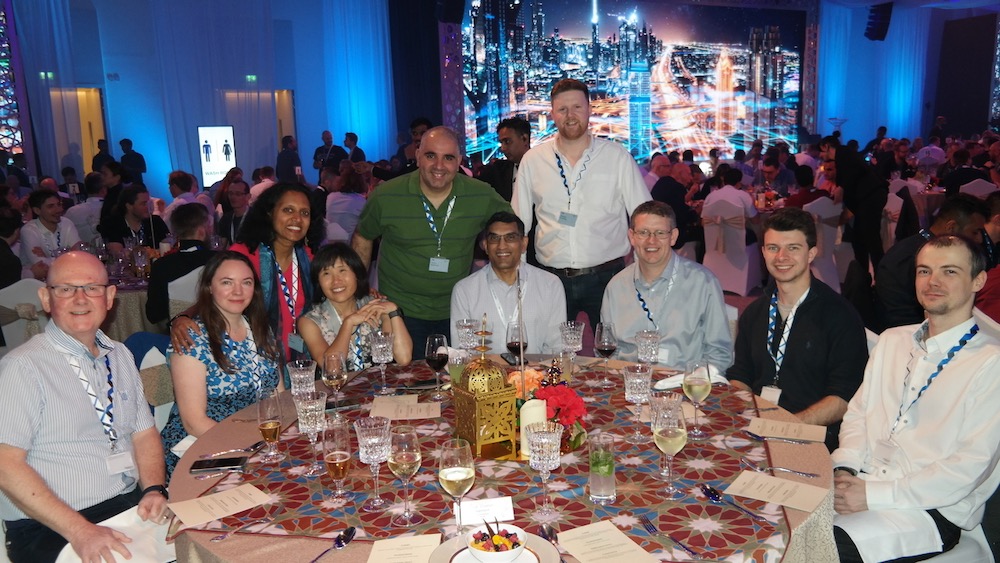
Time to refresh before the Welcome dinner where they had a buffet style meal and musicians performing in the centre.
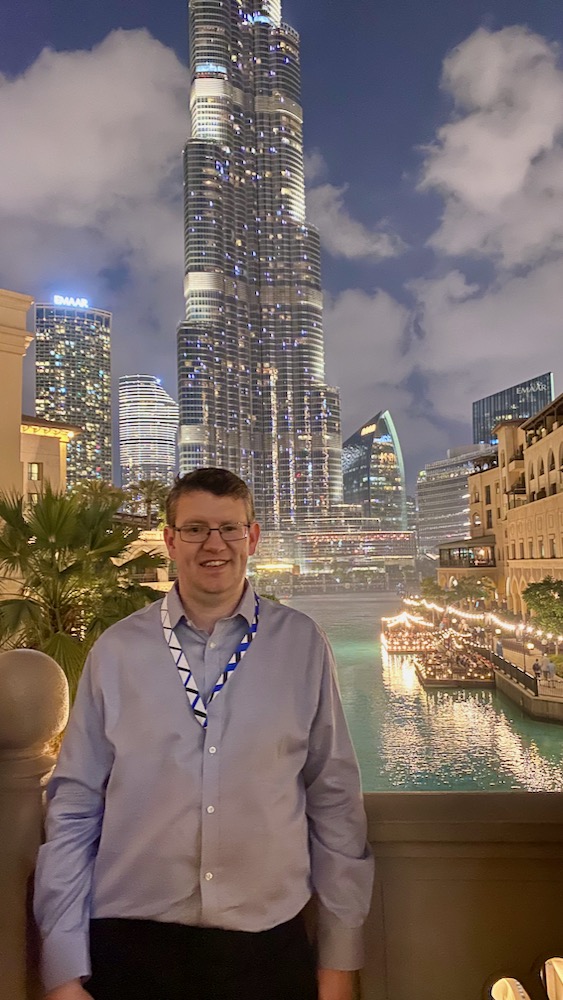
Dubai from the roof-top bar
Welcome Dinner
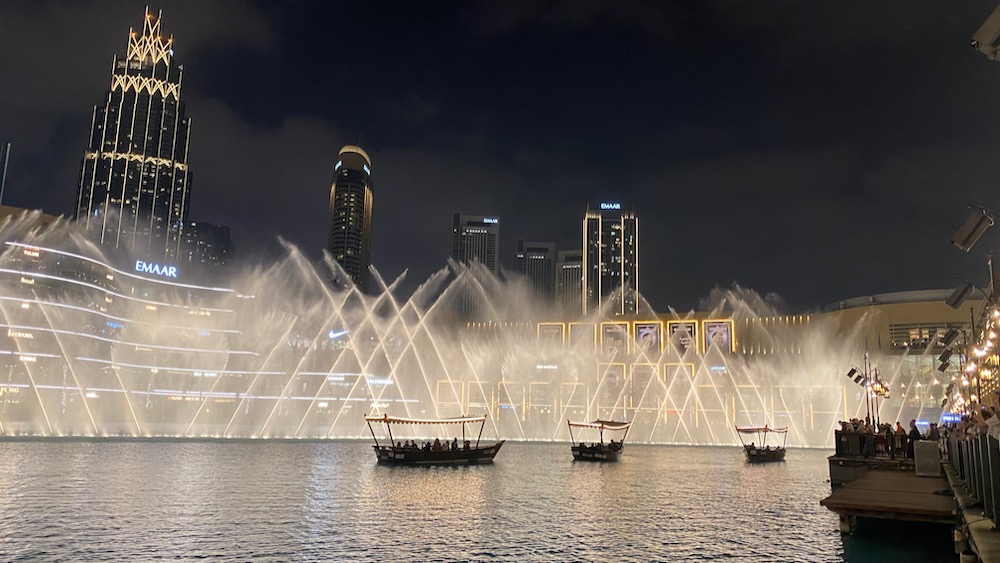
After the dinner a group of us headed down to see the fountains in front of the Burj Khalifa.
I travelled to Paris the day before the conference with Matt and we got to the Hotel in the evening, later than expected as we'd not considered traffic when getting a taxi in to Paris from the airport, I think next time I'd probably take the train in. We then met up with Tom and found a local restaurant/bar to have dinner.
As the API Days conference started at 1 o'clock the next day and I was up early I was able to do a bit of sight-seeing before heading back to the hotel to get on with some work and make sure I was ready for my session later that day. I had breakfast and headed out on the metro across Paris to the Eifel tower.
There was a light covering of snow everywhere and it was still very cold and there was more snow coming down as I emerged from the metro, although it didn't really show in the pictures and it was still well before sunrise so everything was quite dark. I grabbed a coffee at one of the nearby cafes and caught up on Slack.
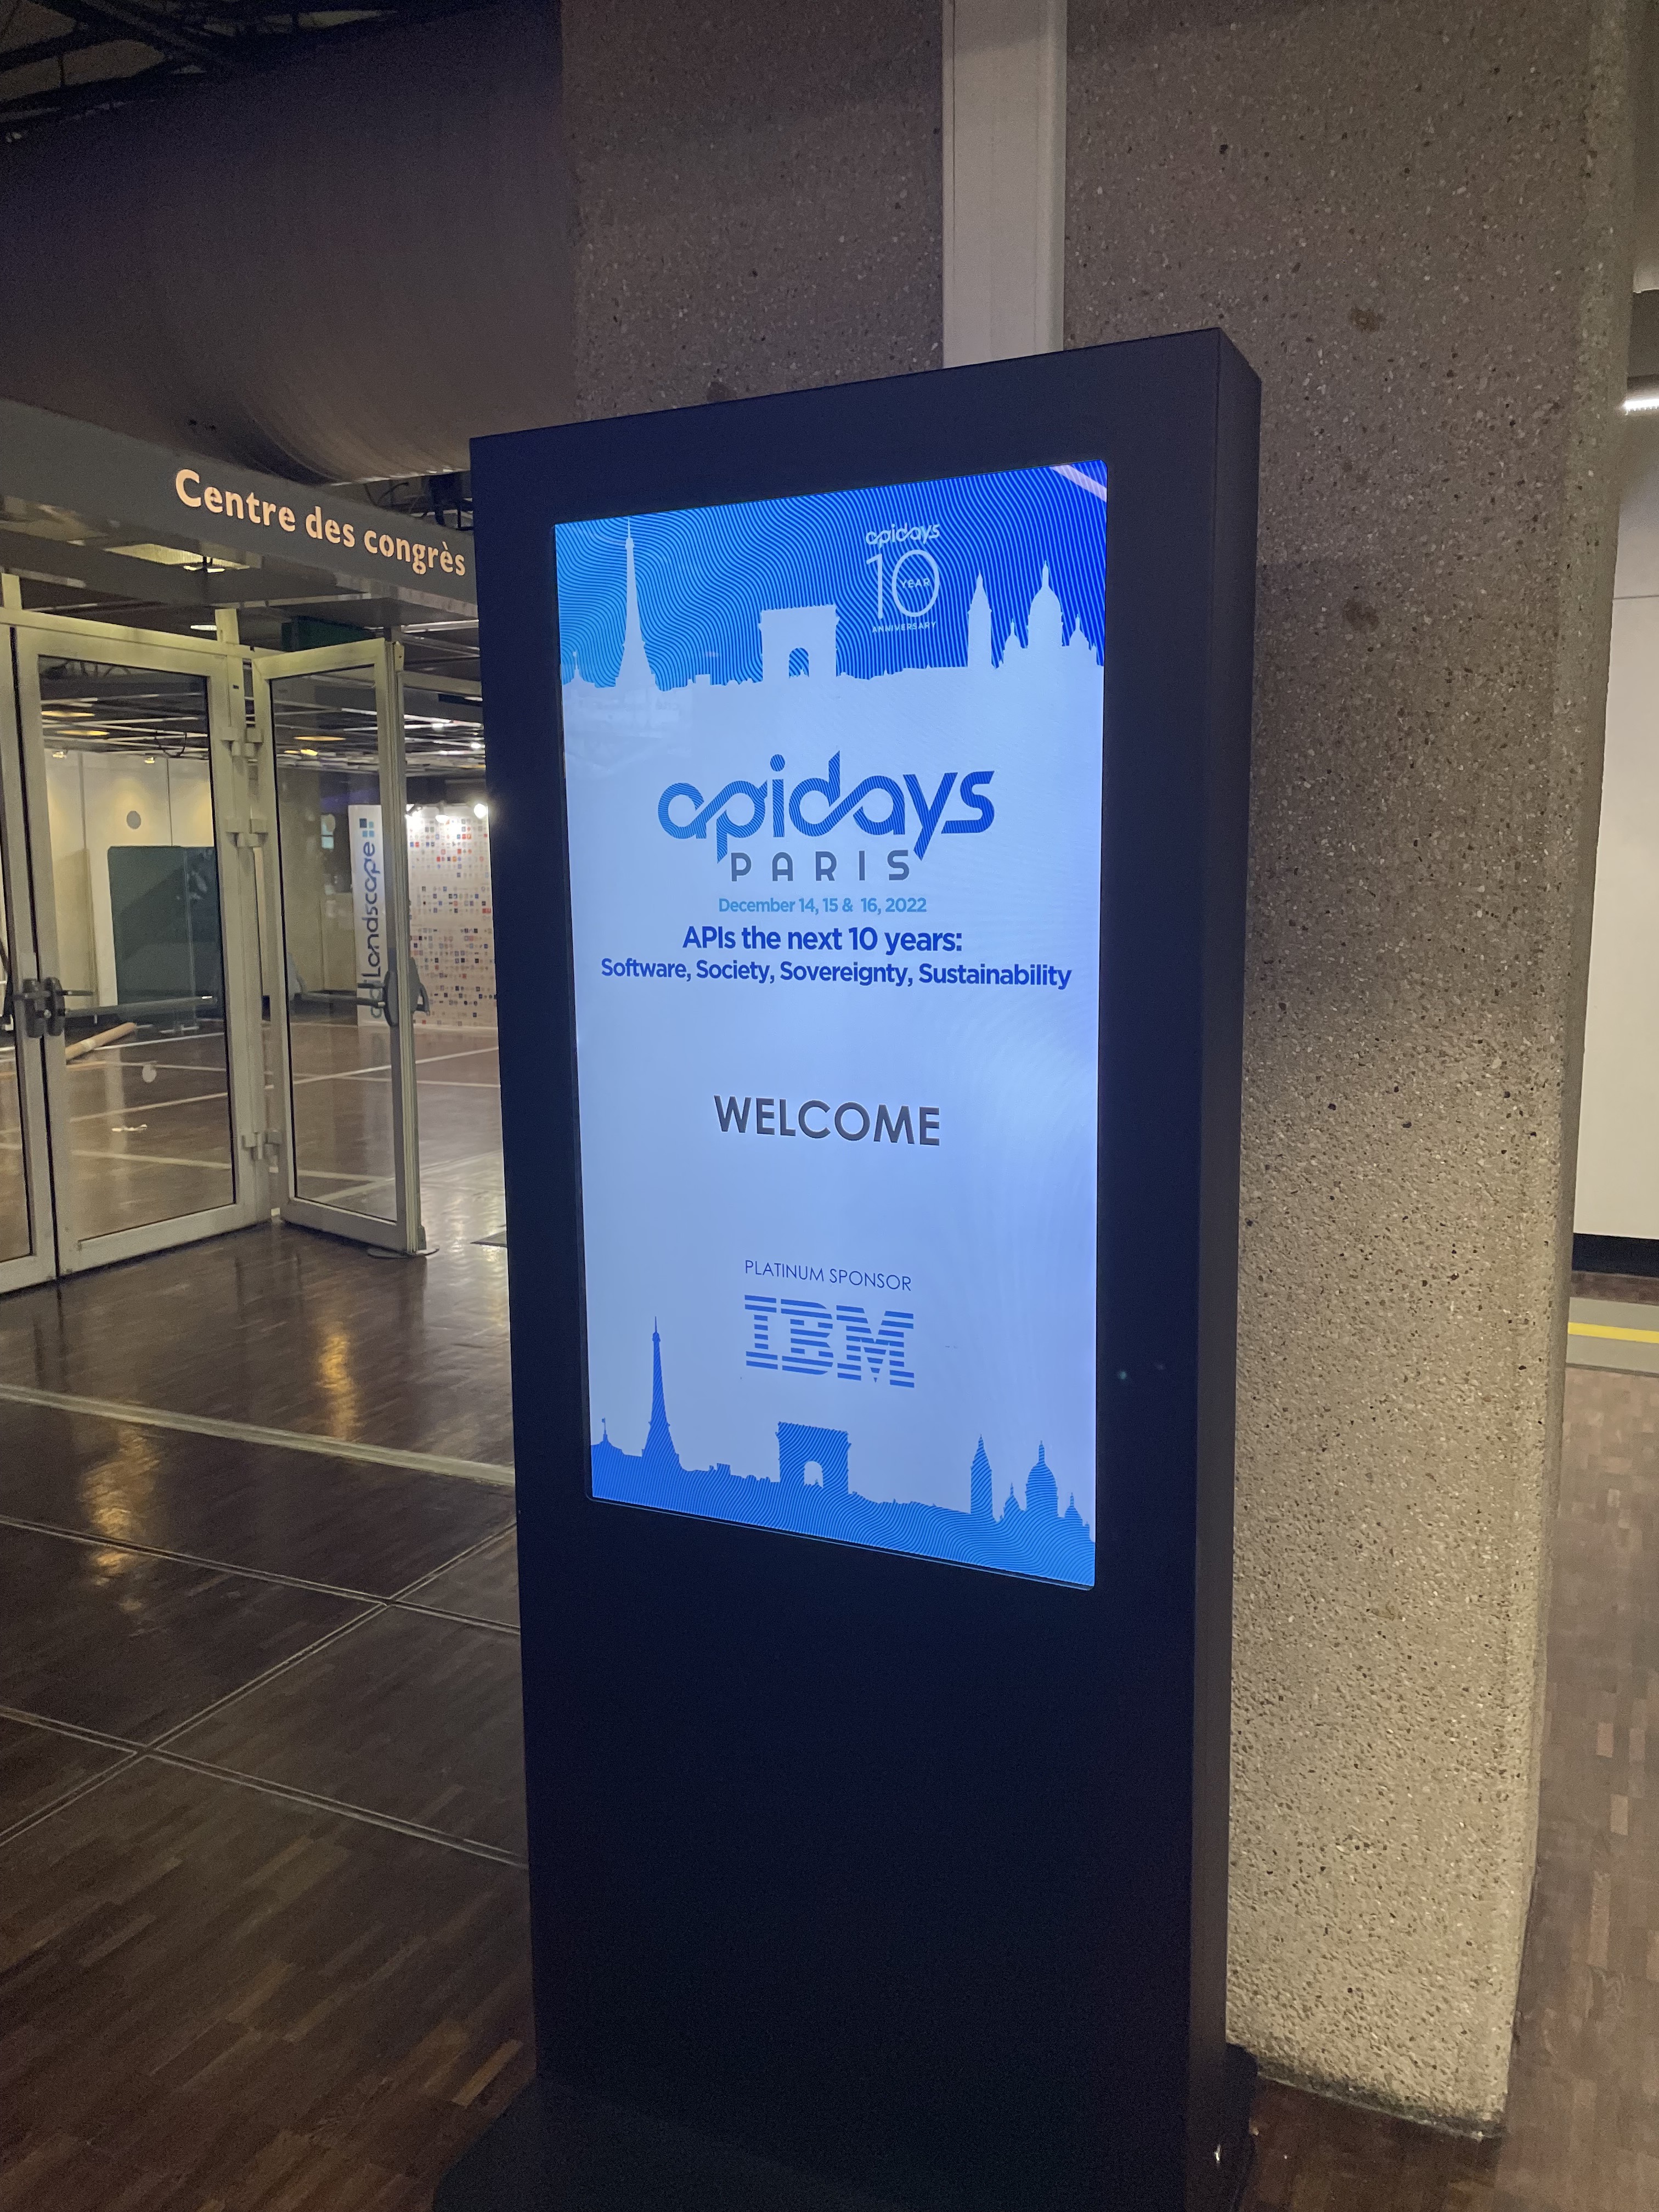
After coffee it had brightened up a bit but was still nice and snowy all around so I walked down closer to the Eifel Tower and a little way along the Seine before heading back across to the Arc De Triomphe and back on the metro back to the hotel. I then made my way over to the Cité des Sciences et de l'Industrie where the conference was to be held. I met Tom as I left the metro station and we headed into the venue together to find the booth and meet the rest of the team.
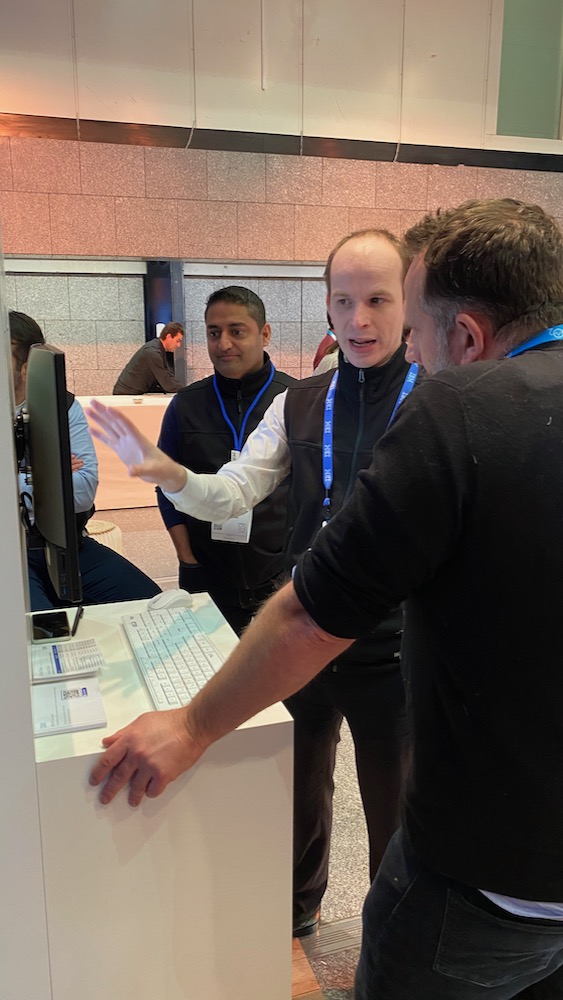
My workshop "Applying AI to API Testing across the lifecycle" was early in the conference, starting just 30 minutes after the doors opened so I went to get set up fairly early to find that the projector in the room wasn't working but it turned out I'd gone to the wrong room and over in the room I was in everything worked properly. My talk went well and I had some good questions from the audience at the end and was glad to have it done so I could enjoy the remainder of the conference. I spent most of the rest of the day at or around the booth meeting people; discussing API Connect with them; giving demos and guiding them through the sign up for our free 30 day trial.
In the evening of the first day of the conference there was a Speaker Soiree which a few of us headed to after dropping things back to the hotel, it was at Belushi's on the Canal de l'Ourcq so was just a short walk from my hotel. Given the size of the conference and the number of tracks going on the event was packed with those speaking at the event and was a great oppportunity to meet some of the others and share our experiences in the API space. As the world cup game between France and Morocco was on that evening we'd been warned to expect trouble in the streets of Paris, so headed back to the hotel just after half time to avoid anything that kicked off after the match. Later on from the hotel I could hear that France had won with the jubilant sounds of car horns.
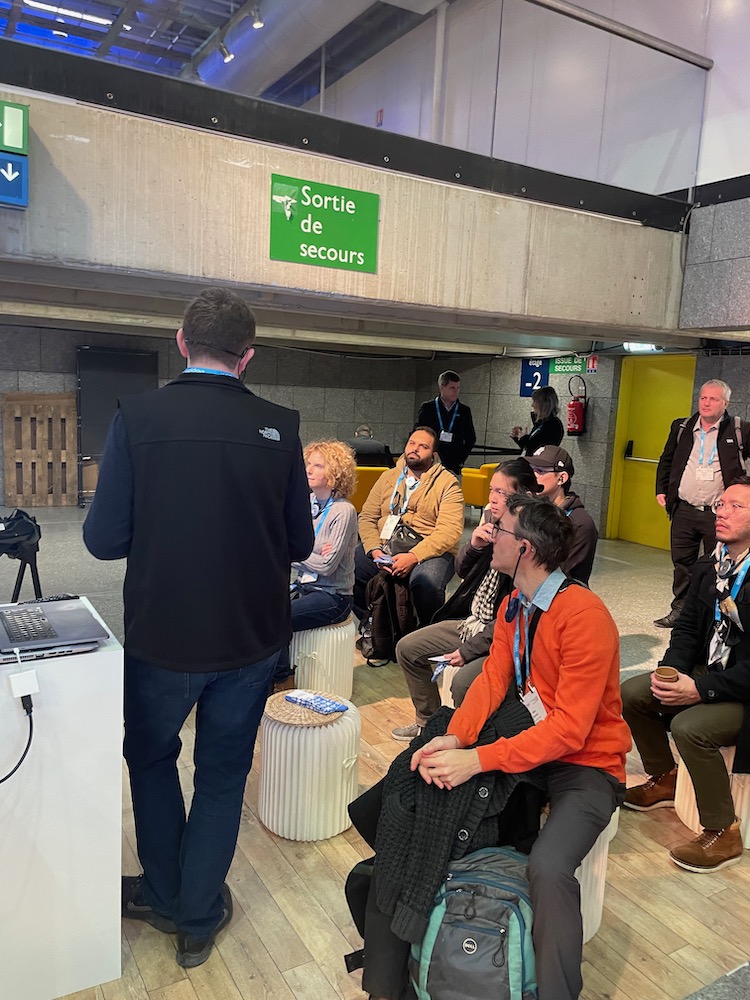
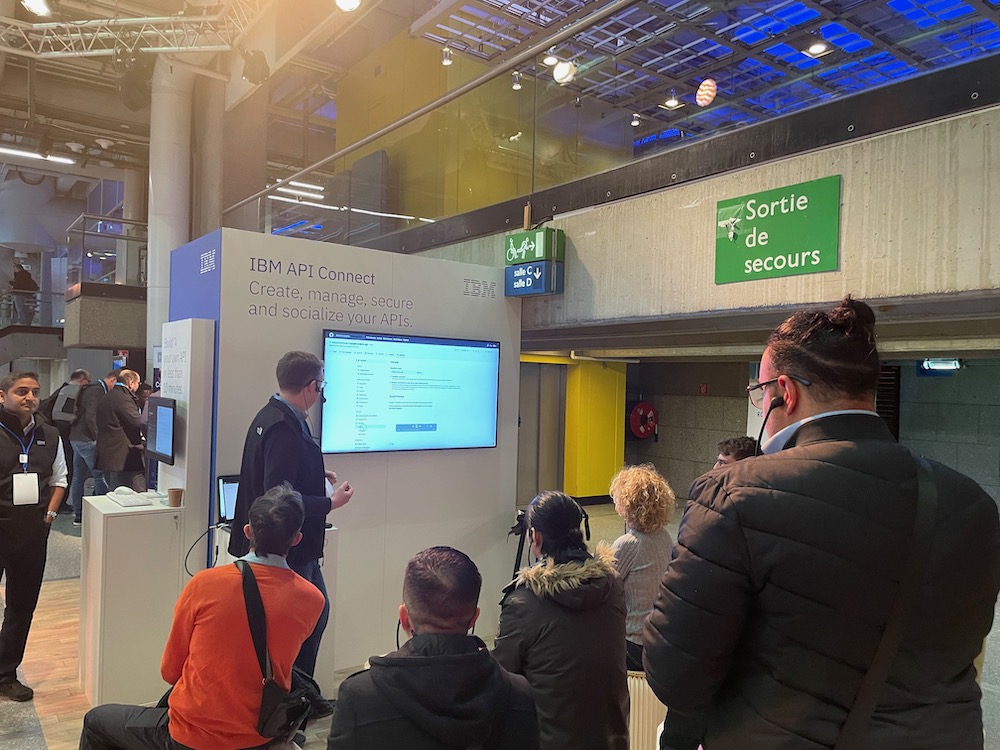
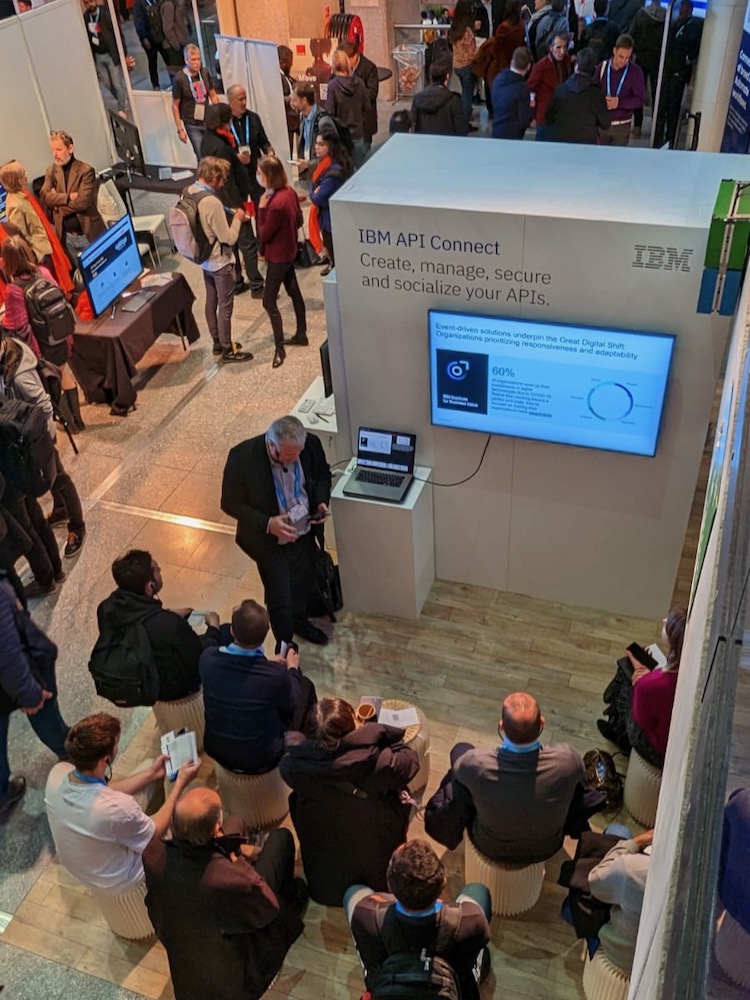
The other thing we had at the booth which was a different idea from the previous time was a series of SmartTalks - 10 minute slots scheduled throughout the event with different people giving a taster session on a topic. I had two on the schedule - "API Deployment automation with IBM API Connect and GitHub Actions" and "Lambda integration in IBM API Connect on AWS". As we were situated by one of the coffee stations we also had a steady stream of people passing our booth so the opportunity to sit down with a coffee and listen to a short talk definitely appealed. These seemed to work really well and drew an audience, often leading to interesting one to one follow on conversations with a few of the attendees.